
Pool Cue Tip Tools & Repair: Your Guide To Perfection!
Are you tired of paying exorbitant fees for pool cue tip replacements? The ability to replace your own pool cue tips not only saves money but also empowers you with the skills to maintain your equipment to your exact specifications.
For those looking to embark on this journey of self-sufficiency, a wealth of tools is readily available to assist you. These tools are designed to make the process of replacing pool cue tips manageable and even enjoyable. Whether you're a seasoned player or a newcomer to the sport, understanding the tools and techniques involved in cue tip replacement can significantly enhance your playing experience.
To further illuminate the path to pool cue tip mastery, let's delve into the specifics of the essential tools and accessories you'll encounter. From simple shaping tools to comprehensive repair kits, the market offers a wide range of options to suit every budget and skill level.
- The Ultimate Guide To Cool Blonde Hair Color Styles Tips And More
- Effective Remedies And Causes Of Dark Armpit Skin
Here's a detailed look at some key products and their functionalities:
Pool Cue Tip Tools & Accessories: A Comprehensive Guide
The world of pool cue maintenance is filled with specialized tools designed to address the specific needs of your equipment. Let's explore some of the most common and essential items:
- Pin Up Hair Styles Timeless Elegance And Modern Flair
- Elegant Wedding Updos For Black Hair Timeless Styles For Your Special Day
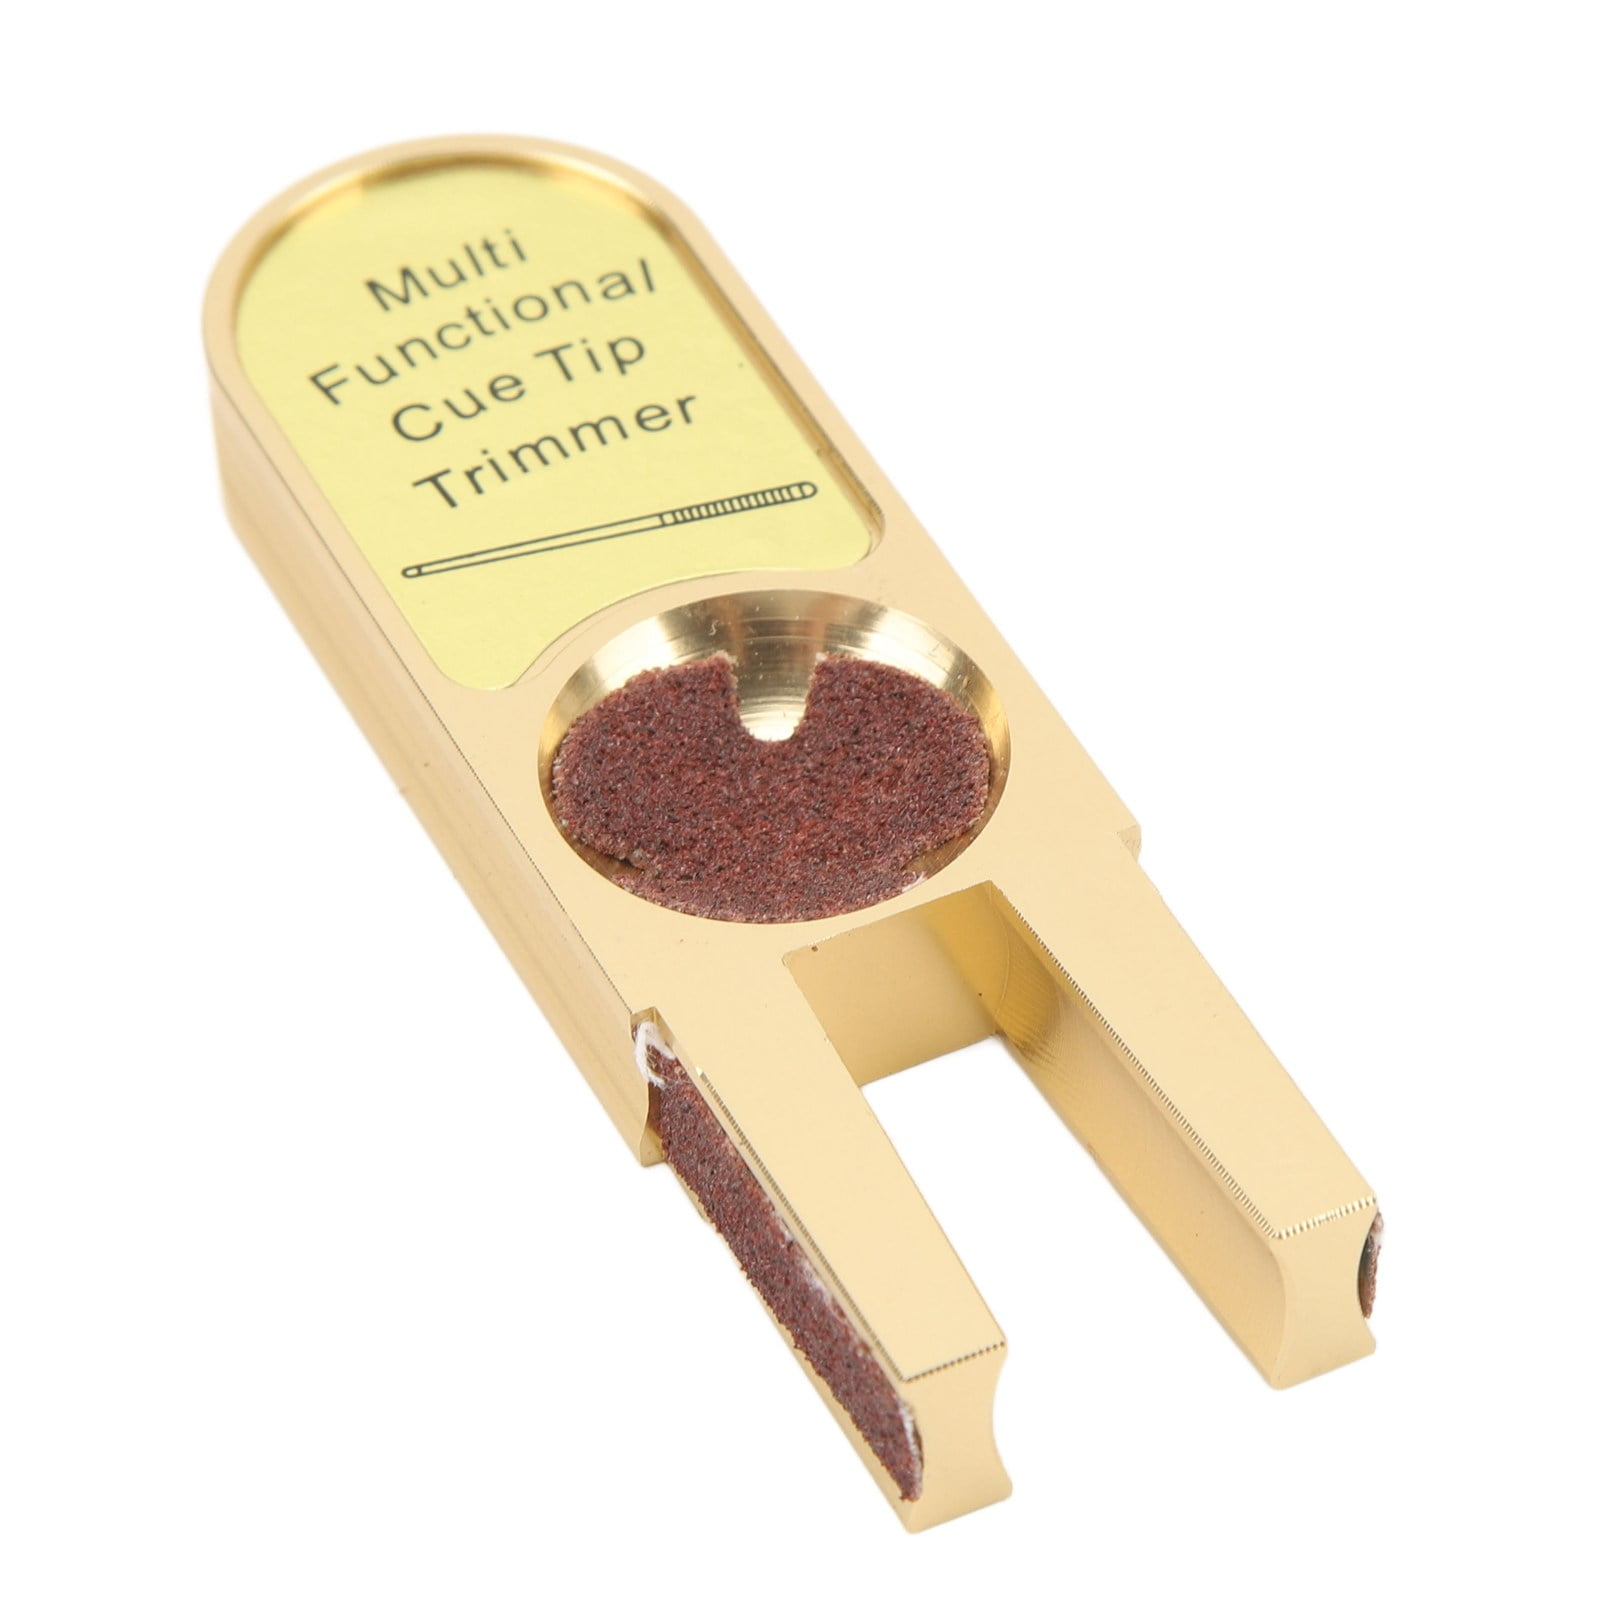
Tip ToolsDesigned to aid in changing and maintaining your pool cue tips. These tools come in various forms, from simple shapers to more comprehensive kits.
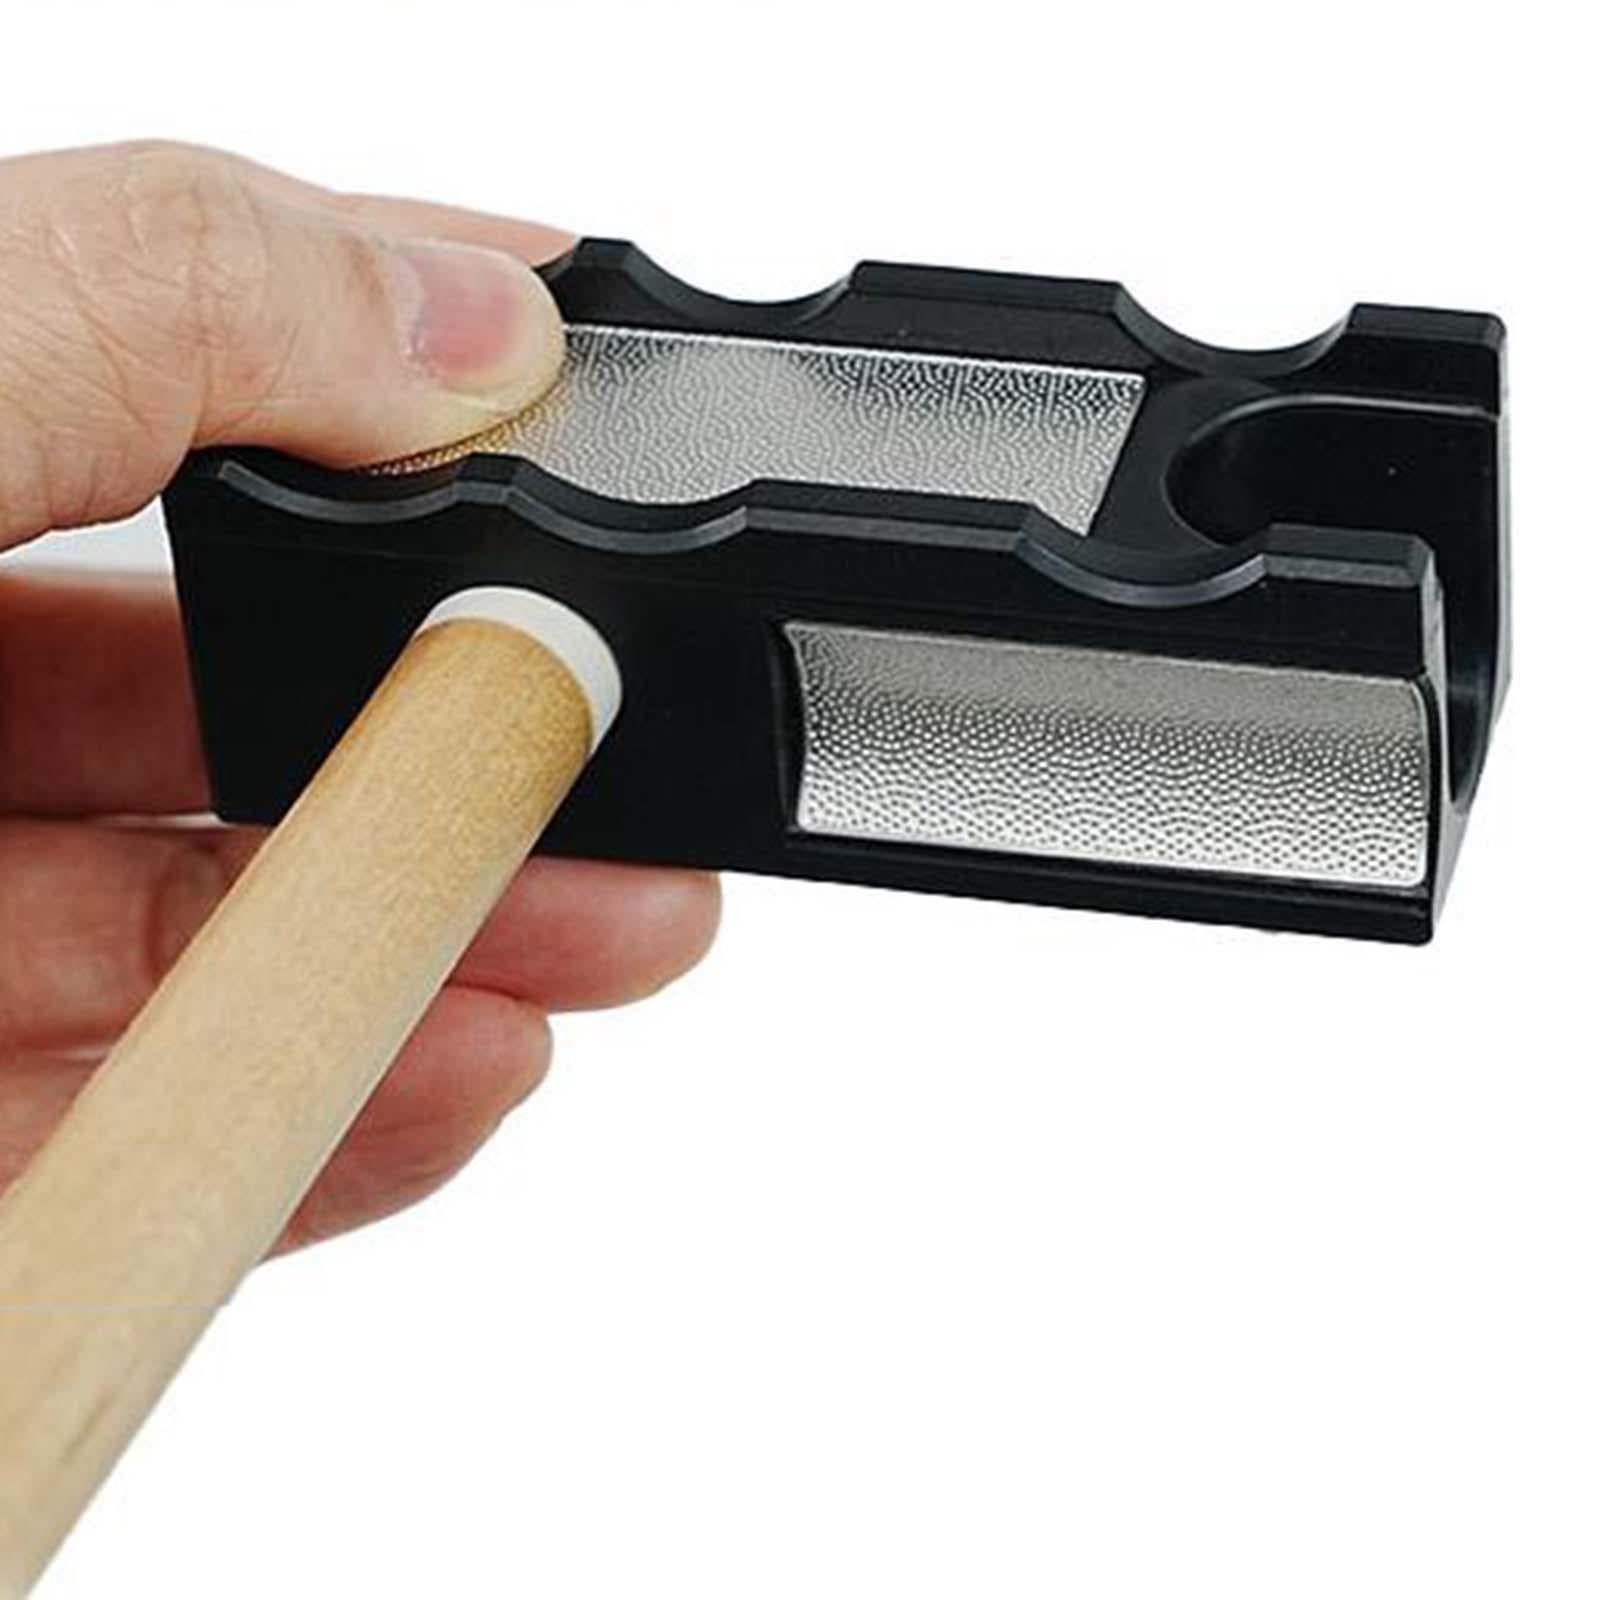
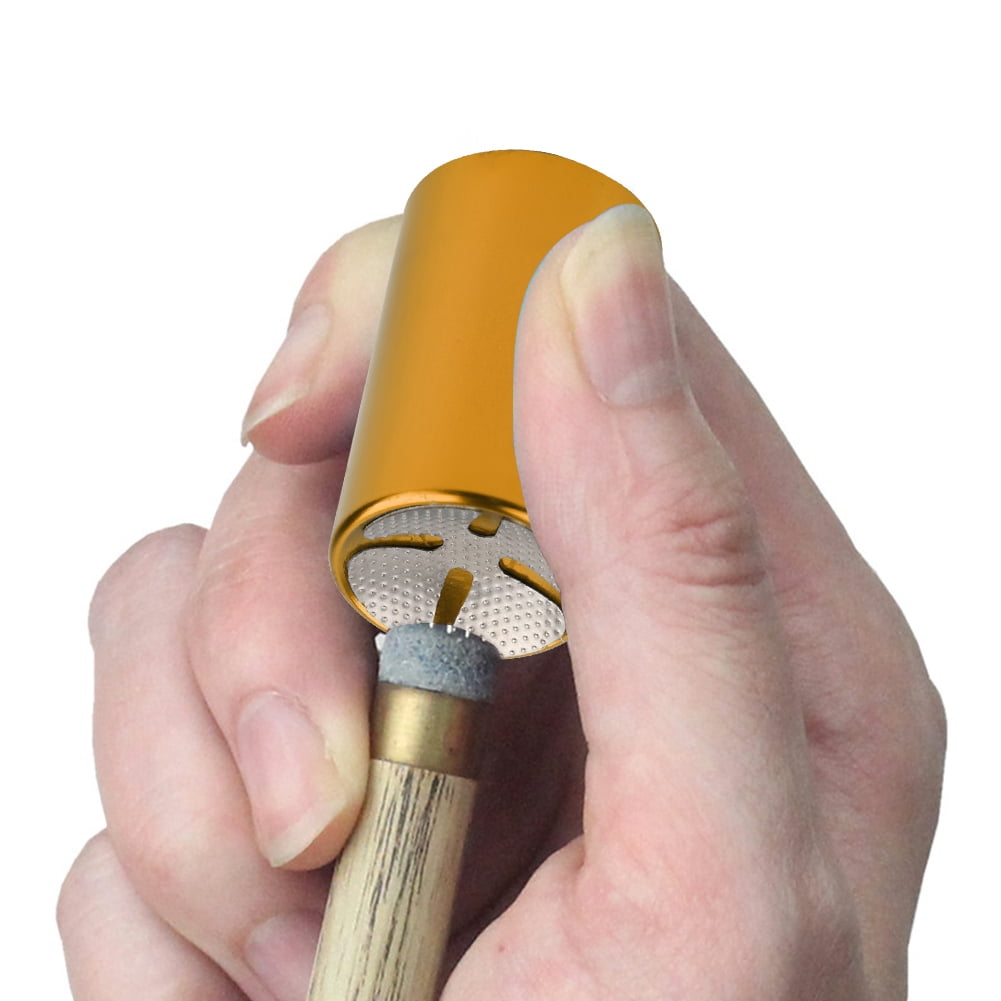
Shapers and Scuffers:These tools are crucial for maintaining the shape and texture of your cue tip, ensuring proper chalk adhesion and ball control.
Burnishers:Used to compress and smooth the cue tip, enhancing its durability and playability.
Glue:High-quality glue specifically designed for adhering cue tips to ferrules is essential for a secure bond.
Tip Repair Kits:Comprehensive kits that include all the necessary tools and accessories for replacing and maintaining your cue tips, often including shapers, scuffers, glue, and burnishers.
Tip Centering Tool:Ensures the new tip is perfectly centered on the ferrule for accurate and consistent shots.
Willard Tipper/Trimmer:A professional-grade machine that faces off the tip and ferrule, providing a perfect surface for tip application, and is capable of handling laminated tips.
Product Highlights:
Pooldawg.com: A leading retailer offering a vast selection of cue tip tools, tips, and complete repair kits, catering to players of all levels.
Seybert's Billiard Supply: Known for featuring top brands such as Joe Porper Products and Willard Products, offering a range of high-quality cue tip tools.
Joe Porper Products: Makers of a wide variety of cue tip tools, including the Cue Cube, Tip Pik, and Ultimate Tip Tool.
Champion Sport Pool Cue Tip Repair Kit: A kit designed to keep your cue stick's tip in perfect condition.
Boxob Pool Cue Tip Shaper: An aluminum 8-in-1 pool cue tip repair tool.
Cue Tip Maintenance
Maintaining your cue tip is paramount for consistent performance and longevity. Regular maintenance involves several key steps:
Shaping:Use a cue tip shaper or a specialized tool to maintain the tip's dome shape. This is crucial for proper chalk adhesion and ball control.
Scuffing:Scuff the tip surface with a scuffer to create texture. This helps the chalk adhere to the tip, which enhances the friction needed to impart spin on the cue ball.
Cleaning:Regularly clean the tip surface to remove dirt and oil buildup.
Burnishing:Use a burnisher to smooth and compress the tip for better durability and playability.
Choosing the right cue tip tools and accessories is a matter of personal preference and playing style. Consider the following factors when selecting your tools:
- Tip Type: Different tip materials (e.g., leather, phenolic) require different tools and techniques.
- Skill Level: Beginners may benefit from simpler tools, while experienced players may prefer more advanced options.
- Budget: Prices vary widely, so set a budget and choose tools that fit your needs.
- Frequency of Use: If you replace tips frequently, investing in high-quality tools is worthwhile.
With the right tools and a little practice, you can master the art of pool cue tip replacement and enjoy the benefits of perfectly maintained equipment.
The following table provides details on some popular tools that can aid in the process of cue tip replacement.
| Tool | Description | Function | Benefits |
|---|---|---|---|
| Cue Tip Shaper | Typically made of plastic or metal, often with multiple shaping options. | Shapes and contours the cue tip to its desired dome shape. | Enhances chalk adhesion and ball control; prevents mushrooming. |
| Cue Tip Scuffer | A tool with abrasive surfaces or a textured design. | Creates a textured surface on the tip. | Increases chalk adhesion, providing better spin on the cue ball. |
| Cue Tip Burnisher | Usually a smooth, abrasive material or a polishing tool. | Compresses and smooths the tip surface. | Increases tip durability and playability. |
| Cue Tip Repair Kit | A set that typically includes shapers, scuffers, glue, and burnishers. | Provides all the necessary tools for tip replacement and maintenance. | Offers convenience and cost savings. |
| Tip Centering Tool | A tool designed to ensure the new tip is centered. | Centers the new tip on the ferrule before gluing. | Ensures accurate and consistent shots. |
| Willard Tipper/Trimmer | A professional-grade machine. | Faces off the tip and ferrule, providing the perfect surface for application. | Offers professional-grade tipping results, and can handle laminated tips. |
Key Retailers and Suppliers
Pooldawg.com: A comprehensive online retailer specializing in pool cue supplies, offering a vast selection of cue tips and tools.
Seybert's Billiard Supply: A reputable supplier featuring top brands such as Joe Porper Products and Willard Products, known for their quality.
Online Marketplaces: Sites such as Amazon and eBay provide a wide selection of tools and kits, often with competitive pricing.
Step-by-step Cue Tip Replacement Guide
1. Preparation:Gather your tools: a new cue tip, tip shaper/trimmer, adhesive, a utility knife (or razor blade), sandpaper, and a cue clamp (optional).
2. Removing the Old Tip:Carefully cut around the old tip with a utility knife to separate it from the ferrule. Then, use sandpaper or a scraping tool to remove any remaining glue or tip material from the ferrule surface. Make sure the ferrule is clean and flat.
3. Preparing the New Tip:Rough up the bottom of the new tip slightly with sandpaper to improve adhesion.
4. Gluing the Tip:Apply a thin, even layer of adhesive to the ferrule. Position the new tip carefully onto the ferrule, centering it as accurately as possible. If available, use a tip centering tool.
5. Clamping (Optional):Secure the tip in place using a cue clamp, or apply firm pressure by hand for several minutes while the glue dries. Follow the adhesive manufacturer's instructions for drying time.
6. Shaping the Tip:Once the glue is completely dry, use a tip shaper to trim and shape the tip to your desired curvature. Work slowly and evenly, taking care not to remove too much material at once.
7. Scuffing the Tip:Use a scuffer to create a textured surface. This enhances chalk adhesion.
8. Finishing:If needed, use a burnisher to smooth the tip.
9. Chalking Up:Before each game, apply chalk evenly to the tip to enhance friction and control.
Common Mistakes to Avoid
- Using excessive glue. A thin, even layer is best.
- Rushing the drying process. Allow sufficient time for the glue to cure completely.
- Shaping the tip too aggressively, resulting in an uneven or damaged tip.
- Neglecting the importance of regular maintenance.
- Applying too much chalk, which can lead to miscues.
Advanced Techniques and Tools
For players seeking a higher level of precision, advanced tools and techniques can further refine the cue tip replacement process.
- Laminated Tips: Many players now use laminated tips, which are made from multiple layers of leather. Laminated tips offer superior consistency and performance. The Willard Tipper/Trimmer is particularly useful for these types of tips.
- Tip Hardness: Cue tips come in a range of hardness levels, from soft to hard. Experiment with different hardness levels to find the one that suits your playing style.
- Tip Shapers: There are many different tip shapers available, each offering a slightly different profile. Experiment with different shapers to find one that works best for you.
- Maintenance and cleaning: Regular cleaning, scuffing, and burnishing will help maintain your tips optimal performance.
Troubleshooting Common Problems
- The Tip Mushrooms: This is a common problem where the tip expands at the edges. To solve this, reshape the tip, making sure to remove excess material from the sides. Avoid chalking too aggressively.
- The Tip Falls Off: Make sure you are using the right glue and the ferrule is clean.
- The Tip is Too Hard or Too Soft: If the tip is too hard, it may lead to miscues. If it's too soft, it may need to be reshaped and/or replaced more often.
Conclusion
By understanding the tools and techniques, you can maintain your cues and enjoy peak performance.
Where to Buy
Pooldawg: https://www.pooldawg.com/
Seybert's: https://seyberts.com/
Amazon: https://www.amazon.com/
eBay: https://www.ebay.com/
Article Recommendations
- Intriguing Insights Into Catherine Of Beetle Juice A Comprehensive Guide
- May 24 Zodiac Sign Traits Compatibility And More
Detail Author:
- Name : Ms. Kristy Padberg
- Username : von.kylee
- Email : lwalter@gmail.com
- Birthdate : 2006-07-27
- Address : 30590 Laura Rapid Suite 605 Luciusmouth, IN 40925
- Phone : 234.301.8820
- Company : Purdy-Jones
- Job : Tile Setter OR Marble Setter
- Bio : Et rerum maxime aut sunt. Voluptates eos est quod et. Expedita ut eius adipisci enim. Vitae eum voluptate eaque laboriosam ea.
Socials
twitter:
- url : https://twitter.com/prestondavis
- username : prestondavis
- bio : Iste voluptate asperiores minima. Ipsa aliquid voluptatem dolorem totam. Est vel excepturi aut sunt accusantium reprehenderit numquam.
- followers : 2379
- following : 2065
instagram:
- url : https://instagram.com/prestondavis
- username : prestondavis
- bio : Qui neque rerum placeat et. Dolore enim dicta corrupti et rerum optio.
- followers : 2430
- following : 1126
facebook:
- url : https://facebook.com/davisp
- username : davisp
- bio : Quasi iure dolor voluptates. Voluptates sit aliquam quam.
- followers : 2261
- following : 2417
tiktok:
- url : https://tiktok.com/@davisp
- username : davisp
- bio : Totam doloribus voluptatum asperiores ut. Aut ea omnis beatae.
- followers : 6534
- following : 175
